For this outdoor farm to be truely sustainable I decided to water it with rain water tanks and have it self powered by the sun with solar panels.
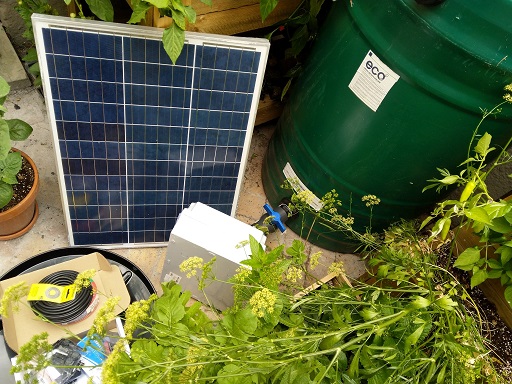


For this outdoor farm to be truely sustainable I decided to water it with rain water tanks and have it self powered by the sun with solar panels.
It’s time to start moving the indoor IoT Farm to being an outdoor IoT farm. The idea I have is to do some experimentation and research into creating automated constrained space farms. I’m going to turn this into a hands on hack series for the CPTMSDUG user group and also share the learnings. Hopefully it goes well. 😁
Today was the big shopping day to get everything I need.


Thanks DUT for an amazing Embeded Conference!
The source code can be found here for the Arduino AZ3166 waterer: https://github.com/apead/az3166arduinogrower
As promised here is the content shared.
Happy gardening!
Sonoff RF Bridges are great to take every day houshold remotes, alarm systems, passive IR seasons etc , and pass the codes they transmit via MQTT messages.
These bridges can also be flashed with the Tasmota open-source firmware used for Home Automation.


Follow the instructues in this post to flash with the Tasmota Firmware (using the TX, RX, VDD, GND configuration pins) above: https://explorationspace.co.za/2020/12/10/flashing-sonoff-devices-with-tasmota/
The Sonoff devices are great, but I prefer to use everything within my home and home automation setup to be fully under my control. Tasmota is a great way of doing just that.
I found the easiest way of flashing devices with Tasmota is using a raspberry pi. I’ve done a quick writeup on how to do this.
Installing ESPTool
Start with installing via the installer script
pip install esptool
Clone from the GitHub repository
git clone https://github.com/espressif/esptool.git
Preparing the Raspberry Pi
sudo raspi-config


Connect the Raspberry Pi to the Sonoff Device

The TXD (Transmit) and RXD (Receive) pins are marked on the raspberry pi. We can use these to communicate serially with the Sonoff Device to flash it with the Tasmota firmware.

Each Sonoff device has pins allocated to reflash the device. These boards usually don’t have headers attached. Here I soldered one to the board.
The important pins are VDD, TX, RX and GND.

Connect VDD to an external power supply. The Raspberry Pi will not be able to power the device off it’s own pins. I used an external bench power supply. Ensure the voltage is 3.3V.
Connect the GND on the power supply to both the Raspberry Pi Ground Pins and the Sonoff device’s GND pin
Connect the TXD on the Raspberry Pi to the RX Sonoff pin and connect the RXD on the Raspberry Pi to the TX Sonoff pin.
Download the Tasmota Firmware
curl http://ota.tasmota.com/tasmota/ --output tasmota.bin
This terminal command will download the latest firmware from the Tasmota site to the Raspberry Pi.
sudo ./esptool.py --port /dev/ttyS0 erase_flash
Start by erasing the devices Flash memory
The port to use on a Raspberry Pi 3 or 4 is /dev/ttyS0.
sudo ./esptool.py --port /dev/ttyS0 write_flash -fm dout 0x0 tasmota.bin
Flash the device with the dowloaded firmware.
Once flashed, reassemble the device and power it on. It should appear as an access point on the network as Tasmota-xxxx if all went well.
You can also follow the Tasmota getting started guide to continue the setup: https://tasmota.github.io/docs/Getting-Started/
Node-RED is a programming tool for wiring together hardware devices, APIs and online services in new and interesting ways.
It provides a browser-based editor that makes it easy to wire together flows using the wide range of nodes in the palette that can be deployed to its runtime in a single-click.
Running Node-RED is easiest in a Docker container. This is really easy to set up.
docker pull nodered/node-red
Pull the container from the Docker Repository
sudo docker run -d -p 1880:1880 -v /home/ubuntu/docker-nodered/data:/data --name mynodered nodered/node-red
Start Mosquitto.
The default port for Node-RED is 1880. Also ensure that the volumes are mapped to a local folder on the host to preserve the configuration.
Eclipse Mosquitto is an open source (EPL/EDL licensed) message broker that implements the MQTT protocol versions 5.0, 3.1.1 and 3.1. Mosquitto is lightweight and is suitable for use on all devices from low power single board computers to full servers.
The MQTT protocol provides a lightweight method of carrying out messaging using a publish/subscribe model. This makes it suitable for Internet of Things messaging such as with low power sensors or mobile devices such as phones, embedded computers or microcontrollers.
Running Mosquitto is easiest in a Docker container. This is really easy to set up.
docker pull eclipse-mosquitto
Pull the container from the Docker Repository
sudo docker run -d -p 1883:1883 -p 9001:9001 -v mosquitto.conf:/home/ubuntu/mosquitto/config/mosquitto.conf -v /mosquitto/data -v /mosquitto/log eclipse-mosquitto
Start Mosquitto.
The default port for Mosquitto is 1883. Also ensure that the volumes are mapped to a local folder on the host to preserve the configuration.
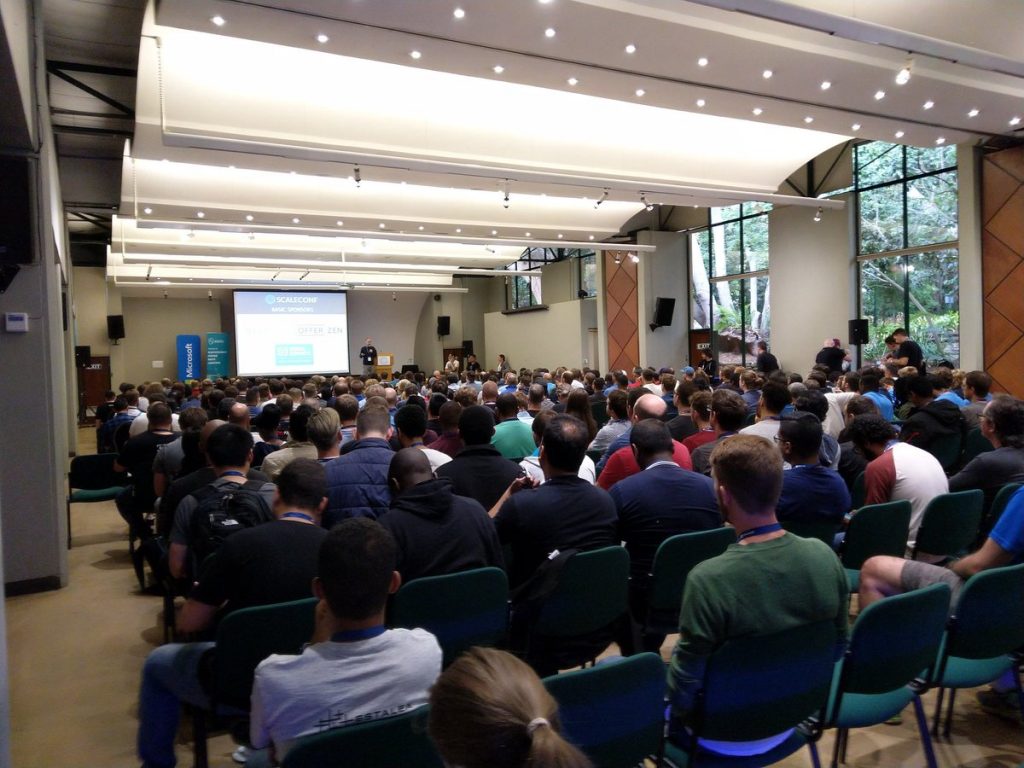
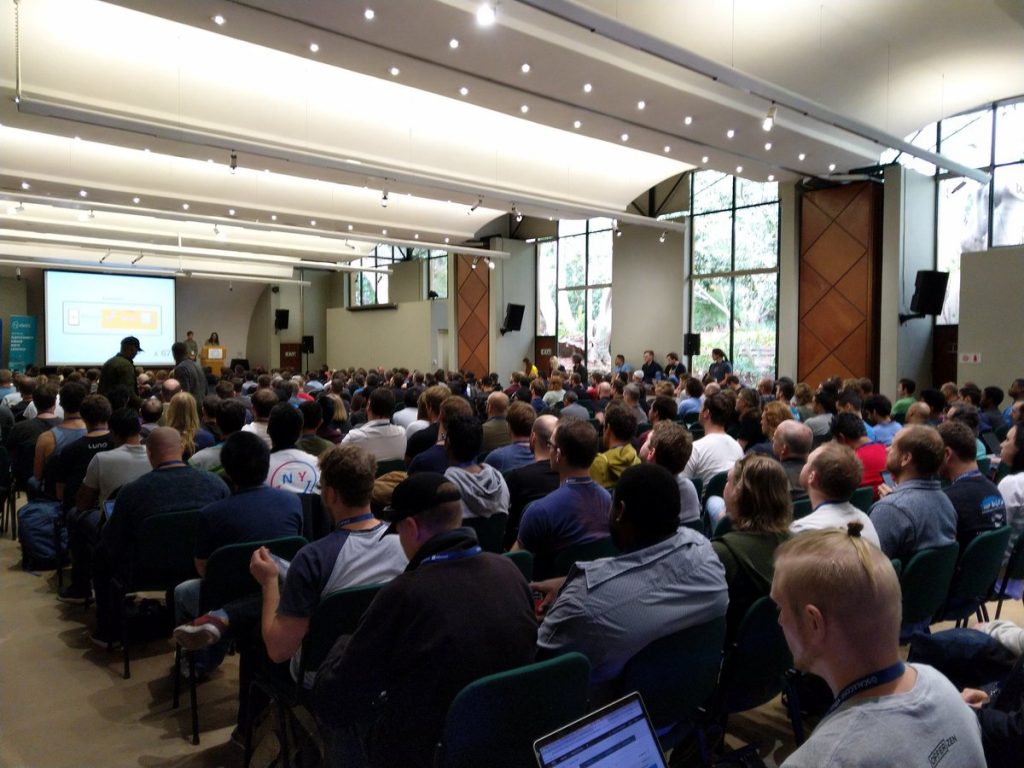
ScaleConf was an awesome 2 day conference.
https://scaleconf.org/ In is held annually at Kirstenbosch, which is an amazing venue. There were some really interesting talks too!
I was lucky enough to this year be helping out at the Microsoft booth. I’m always in my element to be able to chat to the community about anything developer related.
The plan was an agenda of various Microsoft Demos presented by the booth team:
https://cptscaleconfmsdemos.z6.web.core.windows.net/
It didn’t quite end up like that, and we ended up talking about what was requested, which was great. In my case, not only did I get to chat about Bots and ML .NET, but also got to speak about Xamarin and IoT too, which for me is always just plain awesome!!!


Twitter Verse
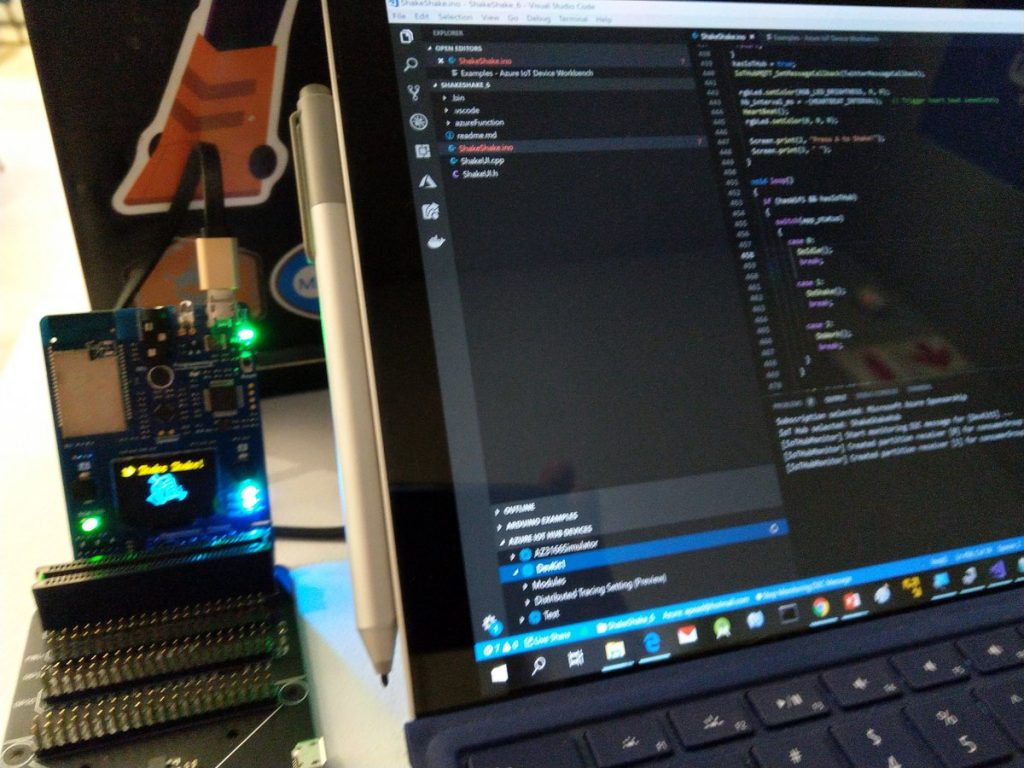
I had an incredible, but exhausting time at Microsoft Ignite the Tour Johannesburg. It was an amazing experience. I got to speak about Xamarin, AI and IoT, it doesn’t get much better than that. 🙂
The content for the Xamarin and Beyond session can be found here:
https://github.com/apead/Xamarin-Blazor-EnvironmentMonitor
There is demo code for taking Cross Platform reach to the extreme. For one code base you can target, iOS, Android, Android Things, Tizen, Blazor (Web Assembly), GTK (Linux, Windows, MacOS).
What was really cool. The @JHBMSDUG user group was showcased at the event. Lou van der Bijl, Matthew Leibowitz and Dustyn Lightfoot did amazing jobs!


The twitter verse
It was a real privilege being a small part of this event. The “AI Hack For Good” event was all about using AI to do something positive for social good.
It was also great fun being a mentor and helping to enable teams to complete their solutions using whichever technology they chose. (.NET, Java, PHP, Python, JavaScript, Swift, Kotlin)


Twitter Verse