Connecting a Pimoroni Environmental Monitor to IoT Central

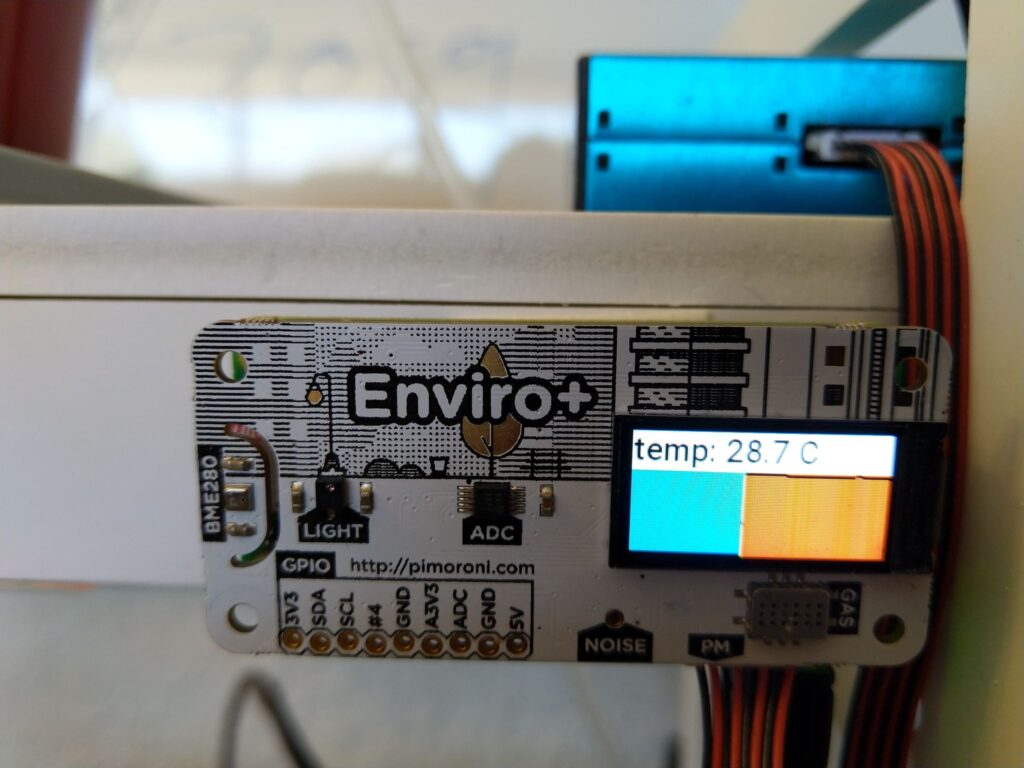
The Pimoroni Environmental monitor is an amazing piece of hardware. I recently purchased a few to monitor air quality around the house. https://shop.pimoroni.com/products/enviro?variant=31155658457171

Packed into the HAT for a Raspberry Pi Zero you will find:

  • BME280 temperature, pressure, humidity sensor
  • LTR-559 light and proximity sensor
  • MICS6814 analog gas sensor 
  • ADS1015 analog to digital converter (ADC)
  • MEMS microphone
  • 0.96″ colour LCD (160×80)
  • Connector for particulate matter (PM) sensor (available separately)
  • Pimoroni breakout-compatible pin header
Device Template

Device Definition json file is in the github repository along with the source code. This can be imported into Azure IoT Central and the views generated.

environ.py
IoT Central Dashboard

Source code: https://github.com/apead/Pimoroni-Env-Monitor-IoT-Central

Product Information: https://shop.pimoroni.com/products/enviro?variant=31155658457171

Where to buy?

https://www.pishop.co.za/store/enviro–for-raspberry-pi

Installing Node-RED in a Container

Node-RED is a programming tool for wiring together hardware devices, APIs and online services in new and interesting ways.

It provides a browser-based editor that makes it easy to wire together flows using the wide range of nodes in the palette that can be deployed to its runtime in a single-click.

Running Node-RED is easiest in a Docker container. This is really easy to set up.

docker pull nodered/node-red

Pull the container from the Docker Repository

sudo docker run -d -p 1880:1880 -v /home/ubuntu/docker-nodered/data:/data --name mynodered nodered/node-red

Start Mosquitto.

The default port for Node-RED is 1880. Also ensure that the volumes are mapped to a local folder on the host to preserve the configuration.

Azure and the Internet of Things at GXUGSA

Always fun to fly to Johannesburg and speak at GXUGSA.    I hope it was useful.

I’ve made all content available.


Event:  https://www.meetup.com/Gauteng-Xamarin-User-Group/events/241783761/


Presentation:   https://github.com/apead/XUGSA/tree/master/12092017


Android Things Weatherstation (Android Studio):   https://github.com/androidthings/weatherstation


Android Things Weatherstation (Xamarin):   https://github.com/apead/Xamarin-AndroidThings-Contrib


MX Chip kit Twitter Shake-Shake:  https://microsoft.github.io/azure-iot-developer-kit/docs/projects/shake-shake/


MX Chip orders available from DFRobot:  https://www.dfrobot.com/product-1616.html


This session featured


Azure Functions

Azure Iot Hub

Azure Stream Analytics

Azure Machine Learning

Power BI

Android Things

MX Chip Azure Iot Kit

And other Iot platforms and devices (Arduino, Netduino, Raspberry Pi, Windows 10 Iot, Xamarin Iot)


MXChip Iot Kit


IoT at GXUGSA

Happy Cross Platform IoT’ing


Visual Studio: The one IDE to rule them all

This week there was some great news about .NET MF and the return of the Netduino!(http://blog.wildernesslabs.co/netduino-is-back/)


I was inspired enough to dust off one of my older projects which included .NET MF and the Xamarin Monkey Robotics project. I then decided to consolidate and rearrange it with some of the newer stuff I’m playing with in the “Iot” space.    It’s also an example of how Visual Studio can handle projects of all types, held together and fully “debuggable” within one solution.     This seems like a good time to do this especially with the recent talks at the Xamarin User Groups in Cape Town (http://explorationspace.co.za/2017/07/20/cross-platform-iot-at-ctxug/)  and Johannesburg (http://explorationspace.co.za/2017/07/12/cross-platform-iot-at-gxugsa/) on the topic.


Visual Studio Controller of Things Solution


I do still have to port all this to Visual Studio 15.3 preview 3 so I can have Xamarin Iot working in the solution as well.


Still a lot of on the list to do today, so I’ll end off here.


Happy Iot’ing!

Xamarin Iot comes to Visual Studio 2017 on Windows

I recently had a quick look at Xamarin Iot.  The post can be found here: http://explorationspace.co.za/2017/06/07/first-look-at-xamarin-iot/.


That was using Xamarin Iot on Visual Studio for the Mac (Preview).     Xamarin Iot is also however available for Visual Studio 2017 on Windows (Preview 2.1) too.  Below is the identical solution just running from Visual Studio 2017 on Windows.    Have a look!


Visual Studio Iot Project Template


New Xamarin Iot Agent


Visual Studio in Action


Xamarin Iot on Raspberry Pi Zero


This is just a quick look at Xamarin Iot running on a Raspberry Pi Zero, this time on Visual Studio on Windows.   More in-depth content coming soon!


Happy Iot’ing!

First Look at Xamarin IOT

This is a first look at the new Xamarin Iot functionality found within Visual Studio for Mac 7.1 Preview.   I will dig much further into detail in future posts, but lets have a very quick look and it.    I’m really excited about this addition to the already awesome Xamarin tooling!


New Iot Project Type


A new project type has been added for Iot.    This project type or template will create the solution and project needed to run on the Iot device.


Manage devices option


What’s immediately apparent is the new run option for the Iot project type.   There’s now a new item called “Manage Devices”


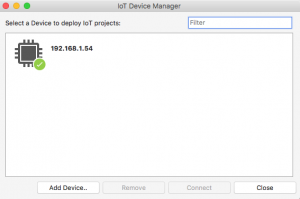
Iot device manager


The Iot Device Manager allows all the connected devices to be managed.   This setup is very similar to the Mac Agent used for iOS development with the Xamarin Visual Studio for Windows extension, however it will display all the Linux based devices running on the network.  In this case and screenshot it’s a Raspberry Pi Zero running Raspian (Jesse).   Configuring the device will allow remote deploys to the device from your Mac.    This will require a user name and password of a user on the Raspberry Pi.  This user will be used to connect to the Raspberry pi via SSH.    Also note, SSH needs to be enabled on the Raspberry Pi for this to work.


Executing remotely on device


Now you can start developing your Iot solution.   What’s really awesome is, all the things you expect to work will just work. This includes break points and a full debugging experience.     All this can happen wirelessly to a “headless” device.


The build and execution process is very similar to the Mac Agent when you do iOS development from Windows (Visual Studio) to a Mac.  The difference in this case, it is from a Mac (Visual Studio) to a Linux instance (Raspberry Pi).   On the very first execution, the mono run time will be copied over to the device.  This will be used to execute the built app.    The application itself and it’s “built code” is also synchronized with the Raspberry Pi.    This compiled Iot app is then in turn executed on the device remotely.


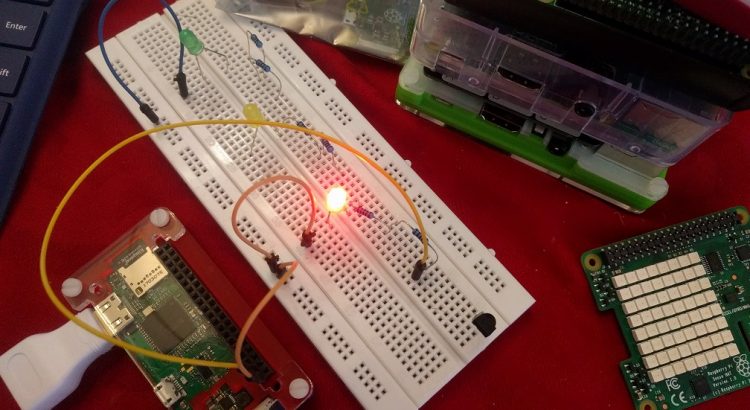
Lets see it in action!    Here is a simple example of the now standard Iot demo of a flashing LED, but running on a tiny Raspberry Pi Zero W.    What’s really nice about this implementation is, it runs on devices that is not supported by other Iot platforms, like Android Things and Windows 10 Iot Core.   It will run on the myriad of Linux based devices out there.


There is much more to show and tell.  So there’s much more blogs to come on this topic!   This will also include how Android Things and Xamarin Iot can work together to make cross platform Iot simpler.


But for now:  Happy Xamarin Iot’ing! 🙂


Build 2015: Windows 10 IoT Preview on a Raspberry Pi 2

Day 1 of Build 2015 has been great!   The IoT inclusions especially have been very exciting for me.


We now have Windows 10 IoT core released and running on:

Raspberry Pi 2
MinnowBoard Max
Galileo


Also very interesting and exciting news is, we have Arduino support from Microsoft.

Windows Remote Arduino
Windows Virtual Shields for Arduino


Let’s start by installing Windows 10 IoT Core Preview on a Raspberry PI 2. I know many of you that bought a PI just to do this, I know I did. 🙂


Start by downloading the “Windows_IoT_Core_RPI2_BUILD” from https://connect.microsoft.com/windowsembeddedIoT/Downloads.  I had to accept some EULAs and click around before anything appeared to be selected for download.  It could have also been a timing problem as I was a bit eager to download and perhaps it was not available that soon.


The requirement for the installation is a Windows 10 Build 10069 or higher PC to copy the Windows 10 IoT installation onto an SD card . I downloaded the new Windows 10 Build 10074 ISO that was released today from http://windows.microsoft.com/en-us/windows/preview-iso-update-1504.


Install Windows 10. I ignored the recommendations and installed on a Virtual Machine (on VMWare) and not a physical PC.  VMWare  passes through the SD card without problems to Windows 10.


Once everything is installed, copy the “Flash.ffu” file from the downloaded “Windows_IoT_Core_RPI2_BUILD” zip file to a folder on the Windows 10 PC.


From an Administrator Command line run the following command:


diskpart
list disk
exit


Note the number of the disk associated with the SDCard.


Run the dism command replacing the N in “\PhysicalDriveN” to the number noted above.


dism.exe /Apply-Image /ImageFile:flash.ffu /ApplyDrive:\\.\PhysicalDriveN /SkipPlatformCheck

After a short wait, you should see: “Operation completed successfully”. Eject the SD card.


success

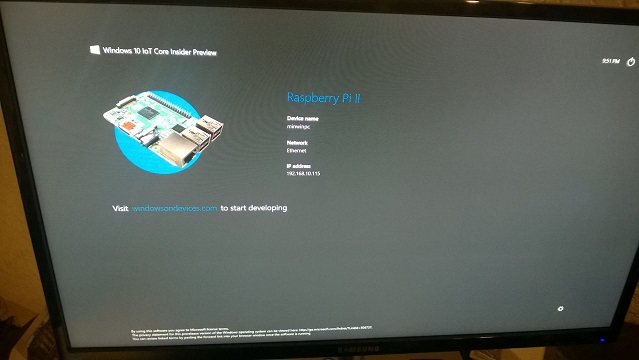
Insert the SD card into the SD card slot in the Raspberry PI 2. Plug the HDMI cable into the PI and of course the monitor. Plug the power cable into the Raspberry PI. After a few worrying minutes Windows 10 IoT should be all booted up. It will reboot once during the initial setup process and the interesting blocks displayed in-between the Windows Logo appearing and final boot-up seems normal.


Next step is to make it do something useful! 🙂


rasp pi 2 rasp pi 1

For full detail instructions you can follow this link: http://ms-iot.github.io/content/win10/SetupRPI.htm