Microsoft Developer Cloud Summit 2021

I hope you enjoyed the Microsoft Developer Cloud Summit today! Thank you very much for attending my session: Automating your home or office with IoT Central and Power Apps” It was a lot of information in 30 min, so here’s the content, resources and source code.

This whole session was done using Home Automation devices combined with OBS. Camera Scene changes were controlled with a standard home remote control. So automation doesn’t have to be traditional garage doors or lighting, you can control you PC life too! 😎 Controlling your OBS Scenes with a Home Automation device

Link to Presentation: Microsoft Developer Cloud Summit 2021 Presentation

Topics

Connecting a Pimoroni Environment Monitor to IoT Central

Connecting Azure IoT Central to Power Apps and Power Automate

Arduino Smart Watering Kit with Azure IoT Central

Building an Azure IoT Central “Gateway” using Node-RED

Flashing Sonoff Devices with TASMOTA

Controlling your OBS Scenes with a Home Automation device

Installing Node-RED in a Container

Installing Eclipse Mosquitto in a Container

Other Resources

IoT Central

https://azure.microsoft.com/en-us/services/iot-central/

Power Apps

https://powerapps.microsoft.com/en-us/

Node-RED

https://nodered.org/

Tasmota

https://tasmota.github.io/docs/

Environmental Monitor

https://www.pishop.co.za/store/enviro–for-raspberry-pi?keyword=enviro&category_id=0

Sonoff
https://www.takealot.com/all?filter=Brand:Sonoff

Connecting a Pimoroni Environmental Monitor to IoT Central

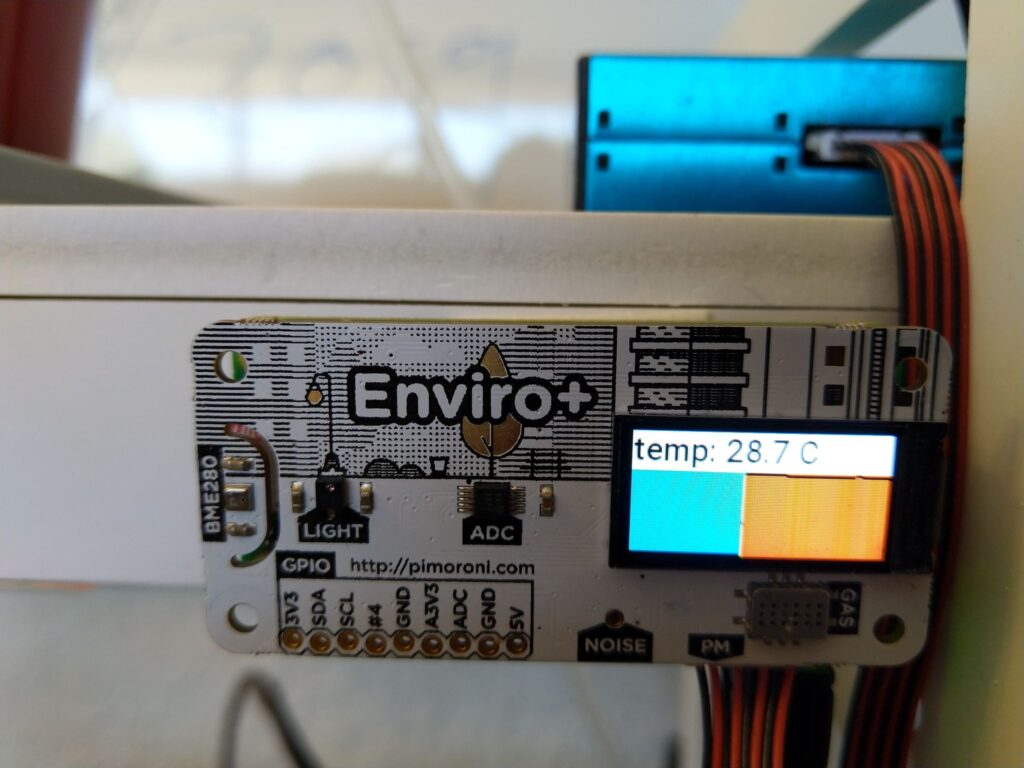
The Pimoroni Environmental monitor is an amazing piece of hardware. I recently purchased a few to monitor air quality around the house. https://shop.pimoroni.com/products/enviro?variant=31155658457171

Packed into the HAT for a Raspberry Pi Zero you will find:

  • BME280 temperature, pressure, humidity sensor
  • LTR-559 light and proximity sensor
  • MICS6814 analog gas sensor 
  • ADS1015 analog to digital converter (ADC)
  • MEMS microphone
  • 0.96″ colour LCD (160×80)
  • Connector for particulate matter (PM) sensor (available separately)
  • Pimoroni breakout-compatible pin header
Device Template

Device Definition json file is in the github repository along with the source code. This can be imported into Azure IoT Central and the views generated.

environ.py
IoT Central Dashboard

Source code: https://github.com/apead/Pimoroni-Env-Monitor-IoT-Central

Product Information: https://shop.pimoroni.com/products/enviro?variant=31155658457171

Where to buy?

https://www.pishop.co.za/store/enviro–for-raspberry-pi

Flashing Sonoff Devices with TASMOTA

The Sonoff devices are great, but I prefer to use everything within my home and home automation setup to be fully under my control. Tasmota is a great way of doing just that.

I found the easiest way of flashing devices with Tasmota is using a raspberry pi. I’ve done a quick writeup on how to do this.

Installing ESPTool

Start with installing via the installer script

pip install esptool

Clone from the GitHub repository

git clone https://github.com/espressif/esptool.git

Preparing the Raspberry Pi

sudo raspi-config
Choose Interfacing Options
Configure Serial
Disable login shell via serial
Enable serial port hardware
Serial setup complete

Connect the Raspberry Pi to the Sonoff Device

Raspberry Pi Pinouts (Serial)

The TXD (Transmit) and RXD (Receive) pins are marked on the raspberry pi. We can use these to communicate serially with the Sonoff Device to flash it with the Tasmota firmware.

Sonoff POW R2 Device

Each Sonoff device has pins allocated to reflash the device. These boards usually don’t have headers attached. Here I soldered one to the board.

The important pins are VDD, TX, RX and GND.

Flashing the device with a Raspberry Pi

Connect VDD to an external power supply. The Raspberry Pi will not be able to power the device off it’s own pins. I used an external bench power supply. Ensure the voltage is 3.3V.

Connect the GND on the power supply to both the Raspberry Pi Ground Pins and the Sonoff device’s GND pin

Connect the TXD on the Raspberry Pi to the RX Sonoff pin and connect the RXD on the Raspberry Pi to the TX Sonoff pin.

Download the Tasmota Firmware

curl http://ota.tasmota.com/tasmota/ --output tasmota.bin

This terminal command will download the latest firmware from the Tasmota site to the Raspberry Pi.

sudo ./esptool.py --port /dev/ttyS0 erase_flash

Start by erasing the devices Flash memory

The port to use on a Raspberry Pi 3 or 4 is /dev/ttyS0.

sudo ./esptool.py --port /dev/ttyS0 write_flash -fm dout 0x0 tasmota.bin

Flash the device with the dowloaded firmware.

Once flashed, reassemble the device and power it on. It should appear as an access point on the network as Tasmota-xxxx if all went well.

You can also follow the Tasmota getting started guide to continue the setup: https://tasmota.github.io/docs/Getting-Started/